Hard water is a silent problem in millions of homes, it clogs pipes, reduces soap effectiveness, and wears down appliances faster than they should. A Sterling water softener addresses this directly by removing minerals like calcium and magnesium that cause hardness. Whether you’re dealing with spotty dishes, stiff laundry, or buildup on fixtures, understanding how a Sterling system works and whether it’s right for your home can save you time, money, and frustration. This guide walks you through selecting, installing, and maintaining a Sterling water softener so you can enjoy soft water without the guesswork.
Table of Contents
ToggleKey Takeaways
- A Sterling water softener removes calcium and magnesium minerals through ion exchange, replacing them with sodium to eliminate hard water problems like spotty dishes and scale buildup.
- Proper sizing based on household size and water hardness (typically 24,000 to 64,000 grains per day) prevents constant regeneration and wasted salt while ensuring effective softening.
- DIY installation is possible with basic tools and plumbing knowledge, but hiring a licensed plumber is recommended if you lack experience, and always check local codes for permit requirements.
- Monthly brine tank maintenance and annual water hardness testing keep your Sterling system running efficiently and ensure it remains sized correctly for your home’s needs.
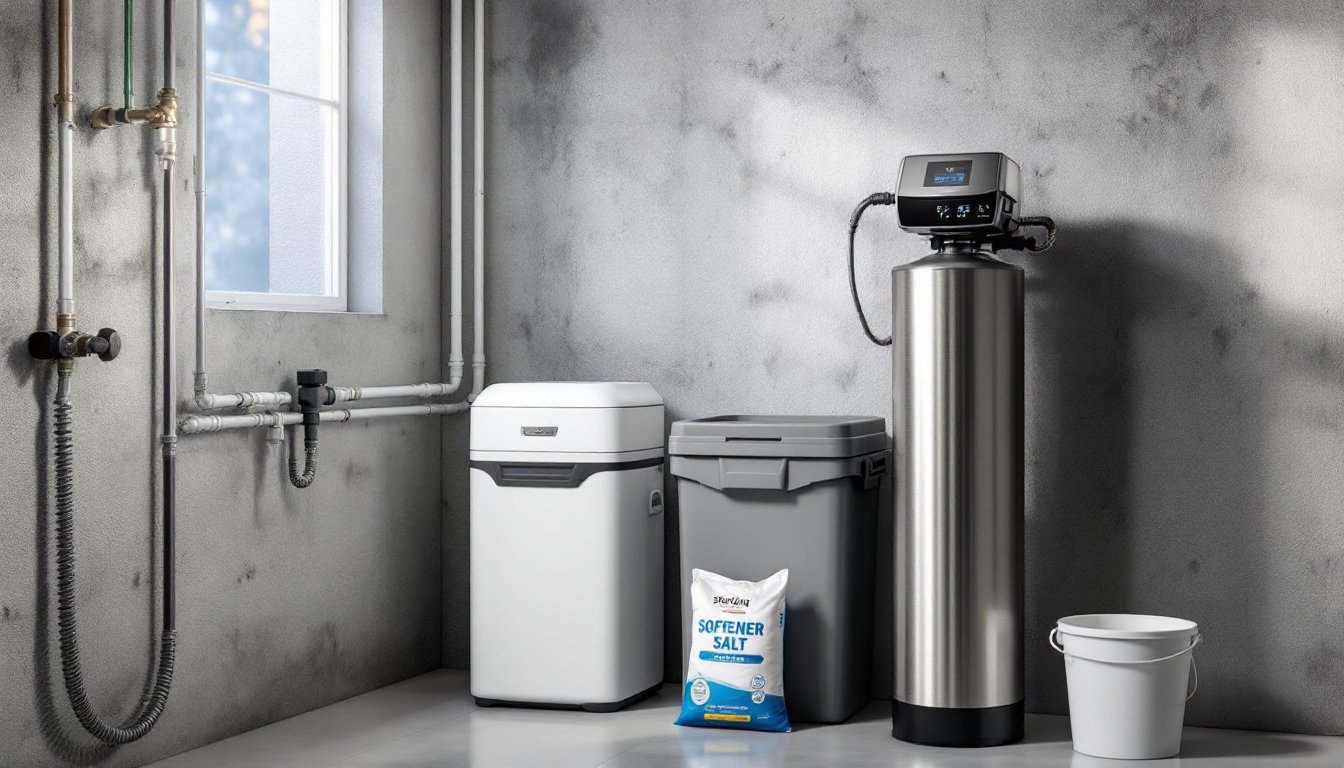
- While Sterling water softeners require regular salt top-ups ($100–$300 annually) and floor space, they typically pay for themselves through reduced soap usage, longer appliance life, and spotless fixtures.
What Is a Sterling Water Softener and How Does It Work?
A Sterling water softener uses ion exchange, a proven method to swap hard minerals for sodium ions. When hard water passes through a tank filled with resin beads, calcium and magnesium cling to the beads and are replaced with harmless sodium (salt). The resin stays effective until it becomes saturated, which triggers a regeneration cycle.
During regeneration, the system flushes salt brine through the tank to strip the trapped minerals and restore the resin’s ability to soften. Most Sterling units handle this automatically on a schedule you set, typically every few days to a week, depending on water hardness and household size. The system drains the mineral-laden water down a drain line during this process.
This isn’t magic: it’s chemistry that’s been standard in water treatment for decades. Sterling softeners come in single-tank and dual-tank configurations. Single-tank systems are compact and budget-friendly but go offline during regeneration. Dual-tank setups alternate tanks so you have soft water 24/7, which costs more but suits larger households.
Key Features and Benefits for Homeowners
The payoff of soft water shows up immediately. Soap dissolves better, so you use less shampoo and detergent, savings that add up over months. Your water heater, dishwasher, and washing machine stay cleaner longer because scale buildup is prevented. Fixtures and glassware stop spotting, and laundry feels softer without the crispness that hard water causes.
Sterling units typically include a digital control head with a programmable timer, so you set the regeneration schedule once and forget it. Many models display water hardness levels and salt reserves, letting you know when the brine tank needs refilling. The brine tank itself is separate from the mineral tank, which makes maintenance straightforward, you’re not cracking open a sealed unit.
One honest point: softeners aren’t invisible. They require floor space (usually near your main water line in a basement, garage, or utility room), a nearby drain, and regular salt top-ups. Salt bags are heavy, typically 40 pounds, so be realistic about whether you can handle restocking. Some people set up auto-delivery for salt: others handle it themselves. The annual salt cost usually runs $100–$300, depending on water hardness.
Sterling Water Softener Models and Sizing Options
Sterling offers models in different grain capacities, typically ranging from 24,000 to 64,000 grains per day. Grain capacity refers to how much hardness the resin can remove before regeneration. You need to size your system based on your home’s water hardness (measured in parts per million or PPM) and daily water use.
A rule of thumb: multiply your household size by 75 gallons per person per day, then account for hardness levels. A family of four in a moderately hard water area (around 10–15 PPM) might need a 32,000-grain unit: a six-person household or one in very hard water (20+ PPM) would step up to 48,000 or 64,000 grains. Too small, and the system regenerates constantly, wasting salt and water. Too large, and you’re paying for capacity you don’t need.
You can test your water hardness with an inexpensive kit from a hardware store or request a free test from a local water authority. Sterling’s product specs include sizing charts: use them. Some models include extra features like bypass valves, higher flow rates for larger homes, or metered regeneration (which regenerates only when needed rather than on a fixed schedule). These increase cost but improve efficiency. Don’t oversell yourself on features you won’t use.
Installation Basics for DIY Homeowners
Installation difficulty depends on your plumbing setup and comfort level. If your home already has a water softener or a clear utility space with proper drainage, a DIY install is realistic. If you’re adding one where none existed and have no plumbing experience, hiring a licensed plumber is honest and worth the cost.
What you need: adjustable wrenches, Teflon tape (to prevent leaks at threaded connections), a hacksaw or PVC cutter if copper or PVC lines need modification, and a power outlet for the control head (most are 110V). Your local codes may require a permit for water service modifications: check with your building department first. This is not a place to skip permits, water system work affects your home’s safety and resale value.
Basic steps if you proceed: First, shut off the main water supply and open a faucet to depressurize the line. Cut into the incoming cold water line (typically 3/4-inch or 1-inch diameter) upstream of any branch lines. Connect the softener inlet to the cut line using compression fittings or solder, wrap threaded connections with Teflon tape, and hand-tighten fittings snugly, no need to muscle them. Route the outlet back to the main line or to a dedicated softened water line. Connect a 3/4-inch drain line from the softener’s drain port to a standpipe, utility sink, or sump pit with proper slope so water drains by gravity. Plug in the control head and set the system’s clock and regeneration schedule.
Take your time. A slow install beats a leaky one. Have a bucket nearby during startup to catch drips as air purges from the lines.
Maintenance and Care Tips
Ongoing maintenance is minimal but essential. Check the brine tank every 4–6 weeks and top it off with softener salt (typically solar or pellet types work well in Sterling units). The tank’s water level should sit below the salt surface, if it’s too high, it means your system is regenerating too often, which signals either oversizing, a control valve issue, or a very high water hardness. Adjust the regeneration schedule down slightly if that’s the case.
Once or twice a year, inspect the hoses and connections for weeping or drips. If your drain line backs up, you may need to clear debris from the port. A wet/dry shop vacuum works if the blockage is near the outlet: otherwise, it’s time for a service call. If you notice soft water isn’t effective, dishes spotting again or clothes stiff, it often means the resin needs cleaning. Many Sterling units have a cleaning cycle you can run using a cleaner additive (follow the manual). If that doesn’t work, the resin may need replacement, which is a job for a service professional.
Water hardness can change seasonally or if your municipal supply changes treatment methods. Test every year or two to ensure your system is still sized correctly. Keep the salt-tank lid sealed to prevent contamination and insect entry. In cold climates, avoid placing the unit where it might freeze. Finally, maintain a basic logbook, jot down when you refill salt, any service calls, and water test dates. This helps spot patterns and proves maintenance for your warranty.
Conclusion
A Sterling water softener is a practical investment that tackles hard water at its source. Size it correctly, install it safely (and legally), and maintain it consistently, and you’ll enjoy soft water without headaches. The upfront cost is real, but softer water, longer appliance life, and cleaner fixtures often justify it within a few years. Start by testing your water hardness and measuring your space, then choose a model that fits. If DIY installation feels beyond your comfort zone, a plumber’s expertise is money well spent. Soft water won’t cure every household problem, but it solves a big one.