A leaking roof doesn’t always mean calling in a contractor tomorrow. Sometimes you’ve got a small hole, a loose shingle, or water trickling in during a rainstorm, and you need a temporary roof repair solution that’ll hold until you can tackle a full replacement or hire a professional. Whether a branch punctured your roof, old flashing gave way, or weathering opened a gap, temporary fixes exist for nearly every common problem. This guide walks you through the tools, materials, and methods that actually work, so you can stop water damage now and plan your permanent solution with confidence.
Table of Contents
ToggleKey Takeaways
- Temporary roof repair solutions like tarps and patches can stop water intrusion quickly while you plan for permanent repairs or contractor availability.
- For small punctures or nail holes, roofing cement applied with a caulk gun and allowed 24 hours to cure provides an effective temporary seal.
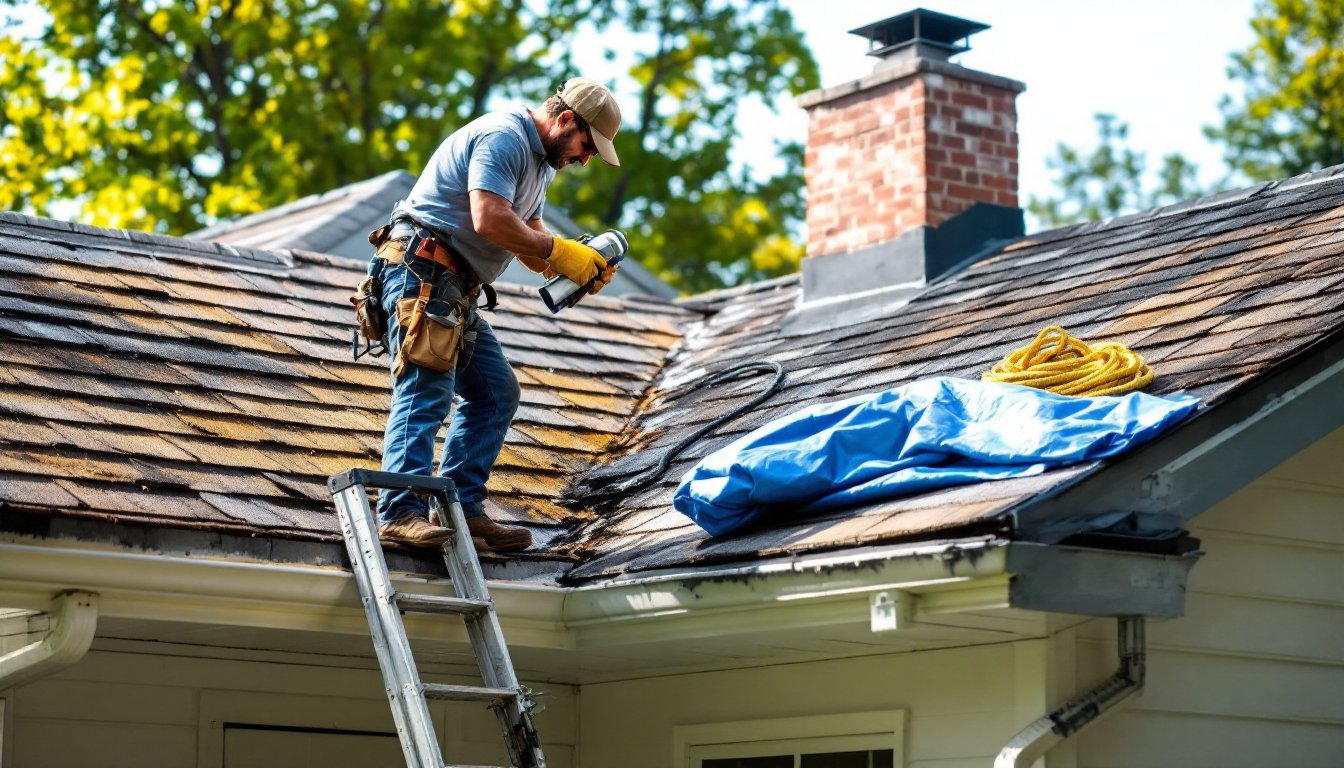
- Tarping is the fastest method for large damaged areas—use a 6 mil polyethylene tarp extended at least 3 feet beyond the damage and secure it with rope or boards to prevent shifting.
- Always assess damage severity honestly: if water is pooling in your attic or causing structural damage, skip temporary fixes and call a professional immediately to prevent mold and further deterioration.
- Prioritize safety by wearing a harness on steep roofs, using a properly angled ladder, avoiding work in rain or high wind, and never working alone.
- Temporary roof repair materials like roofing patches, waterproof tape, and asphalt cement are affordable alternatives to emergency service calls, but plan for permanent professional repair within several months.
When You Need a Temporary Roof Repair
A temporary roof repair bridges the gap between damage and permanent work. You might reach for one if heavy rain is forecast but your contractor isn’t available for two weeks, a storm just hit, or you’re still evaluating whether full replacement is necessary.
Temporary repairs are also smart if you’re dealing with a cosmetic leak that doesn’t affect structural integrity, water staining on a ceiling or minor interior dripping. They buy time without spending hundreds on emergency service calls.
But, be honest about severity. If water is flowing into your attic, pooling on joists, or compromising insulation, a temporary patch is a band-aid. Structural damage, active mold, or widespread water intrusion demands professional assessment and repair sooner rather than later. Many homeowners using home service platforms like Angi find it helpful to get cost estimates for permanent fixes while managing a leak temporarily.
Essential Tools and Materials to Have on Hand
Before you climb a ladder, gather these essentials:
Tools:
- Caulk gun (for sealants)
- Hammer and roofing nails (1 1/4″ to 1 1/2″)
- Utility knife or roofing knife
- Tape measure
- Ladder (stable and tall enough to reach your eaves safely)
- Gloves (heavy-duty work gloves or nitrile, depending on the task)
- Roofing shoes or sneakers with good grip
Materials:
- Roofing tar or asphalt cement (a thick, sticky paste that seals around punctures and nail heads)
- Roofing patches (pre-cut rubber or bituminous patches, 6″×8″ or larger)
- Waterproof tape (either aluminum flashing tape or rubberized roof tape, 2″–4″ wide)
- Galvanized roofing nails (corrosion-resistant)
- Spare shingles (if your roof uses asphalt shingles, match the color and style if possible)
- Heavy-duty tarps (6 mil or thicker polyethylene, sized to overlap the damaged area by at least 3 feet)
- Rope or bungee cords (to secure tarps)
You don’t need every item for every job. A simple nail hole might only need roofing cement: a torn membrane needs a patch. Scope your specific damage first, then buy accordingly.
Step-by-Step Temporary Repair Methods
Tarping Your Roof
Tarping is the fastest way to stop water intrusion across a large area. It’s low-skill and works on any roof type.
Steps:
- Measure the damaged area and add 3 feet in all directions. Cut your 6 mil polyethylene tarp to size (aim for a rectangle that extends beyond the damage zone). A tarp that’s too small defeats the purpose.
- Use a ladder to safely climb to the roof. Wear gloves and roofing shoes with good grip.
- Stretch the tarp over the damage, aligning one edge with the ridge or peak if possible. Overlap the eaves.
- Use rope, bungee cords, or even temporary two-by-four bracing to hold the tarp down. Avoid nailing directly through the tarp into the shingles: instead, tack a board along the tarp’s edge and nail through the board to distribute load and prevent punctures.
- Ensure water can drain off the tarp or underneath it toward the gutters. Standing water is your enemy.
A tarp holds for weeks or even months if secured properly. Check it after heavy wind to confirm it hasn’t shifted.
Patch and Sealant Solutions
For smaller damage, a single nail hole, a loose seam, or a torn corner, patches and sealants are faster than tarping.
For Small Punctures or Nail Holes:
- Dry the area thoroughly. If it’s raining, wait for a clear window or use a leaf blower to clear surface moisture.
- Clean away debris, loose tar, or rust using a utility knife or wire brush.
- Apply roofing cement or asphalt sealant directly into the hole or crack using a caulk gun. Overfill slightly so cement squeezes out as you smooth it.
- Smooth the sealant flush with a putty knife or your finger (wear gloves). The goal is a smooth surface that water will run off, not pool in.
- Allow 24 hours to cure before exposing the repair to rain (check the product label for exact drying time).
For Larger Tears, Cracks, or Seam Leaks:
- Clean and dry the area as above.
- Cut a patch from rubberized or bituminous roofing patch material that extends at least 2 inches beyond the damage on all sides.
- Some patches are self-adhesive: others require a layer of roofing cement underneath. Peel the backing and press the patch firmly into place, working out air bubbles from center outward.
- If using non-adhesive patches, apply roofing cement first, then press the patch into it.
- Seal the patch edges with additional roofing cement or caulk, creating a watertight perimeter.
- Allow full cure time (check the product instructions, typically 24–48 hours) before rain exposure.
For Flashing Leaks (where roof meets chimney, vent, or wall):
Flashing is where roof meets vertical surfaces and is prone to leaks. Temporary fixes work here but are less robust than permanent re-flashing.
- Clean the joint between the flashing and adjacent material (roof, chimney, siding) with a utility knife to remove old caulk and debris.
- Apply high-quality roofing caulk or sealant into the gap, using a caulk gun. Smooth it with a wet finger or caulk tool so it adheres fully and sheds water.
- For leaks along flashing edges, apply waterproof flashing tape (aluminum or rubberized), overlapping the tape onto both the roof and the flashing by at least 2 inches. Burnish (press) it firmly in place.
- These repairs last several months but will eventually degrade. Plan for permanent re-flashing soon.
Tip: If you’re patching multiple holes or a large worn area, a tarp is often faster and more reliable than multiple small patches. Patches excel for isolated, single-point leaks.
Resource guides on home maintenance and seasonal repair strategies offer additional context for planning repairs by season.
Safety Precautions and When to Call a Professional
Safety First:
- Wear a safety harness or roof anchor system if your roof pitch is steep (greater than 6:12). Falls are the leading cause of home injury. Don’t skip this.
- Use a stable, properly angled ladder (75-degree angle, feet on level ground) and have someone hold it if possible.
- Never work in rain, ice, or high wind. A wet roof is slick: wind can knock you off balance.
- Wear eye protection (goggles) to keep debris and sealant spray out of your eyes.
- Avoid working alone on a roof. Have a friend or family member at ground level in case of emergency.
- Watch for power lines. If your roof is near electrical lines, do not climb near them, and call a professional.
- Wear long sleeves and pants to protect skin from roofing tar, which is caustic and difficult to remove.
When to Call a Professional:
Some damage exceeds DIY scope. Hire a licensed contractor or roofer if:
- Your roof pitch is steep or you’re uncomfortable at heights.
- Damage is widespread (more than a few isolated spots).
- Water has pooled inside your attic or ceiling structure for days: mold risk is high.
- You suspect structural damage to trusses, joists, or decking.
- Your roof is older than 20 years or nearing end-of-life: temporary fixes may not be economical.
- Local building codes require permits for roof work in your jurisdiction (many do for structural repairs).
- Flashing, valleys, or chimney areas are involved: these are complex and prone to leaks if not sealed correctly.
For honest assessments and cost estimates, many homeowners consult local roofing specialists through contractor networks to understand whether a temporary fix or full replacement makes financial sense.
Conclusion
Temporary roof repairs work best as bridges, not permanent solutions. A tarp or patch will stop water from entering your home now, giving you time to plan, budget, and hire a professional without panic. The key is honest assessment of severity, proper material selection, and safe execution. Don’t skip safety or surface prep, those shortcuts cause most failures. Get your leak under control, then schedule a permanent fix before the next storm season arrives.