Venting a range hood isn’t as complicated as it seems, but it’s not something to wing either. A properly vented hood removes cooking odors, steam, and heat from your kitchen, protecting your cabinets and walls while keeping the air clean. The difference between a hood that actually works and one that just pushes moisture into your attic comes down to understanding your venting options, choosing the right materials, and following a solid installation process. This guide walks you through everything a DIYer needs to know, from ducting basics to common pitfalls that catch most first-timers.
Table of Contents
ToggleKey Takeaways
- Ducted range hood venting is the most effective option for removing cooking odors, steam, and heat from your kitchen while protecting cabinets and walls from moisture damage.
- Always vent a hood to the exterior (wall, roof, or soffit)—never to the attic, as this causes mold, insulation damage, and structural problems.
- Use properly sized 6-inch ductwork with sealed joints, minimize bends to preserve airflow efficiency, and mount the hood 28–36 inches above your cooktop per manufacturer guidelines.
- Check local building codes before installation, as many jurisdictions require permits for range hood venting, especially when roof or wall penetrations are involved.
- Clean or replace grease filters monthly, inspect duct dampers quarterly, and perform yearly ductwork inspections to maintain long-term performance and prevent efficiency loss.
Understanding Your Range Hood Venting Options
Before you buy ducting or tools, you need to decide which type of venting system works for your kitchen. Not all kitchens are set up the same way, and your options depend on your home’s layout, your location, and building codes in your area.
Ducted vs. Ductless Systems
Ducted (exhaust) hoods pull air through flexible or rigid ductwork and send it outside via an exterior wall, roof penetration, or soffit vent. This is the most effective option because it actually removes heat and moisture from your home, not just filters it. Ducted systems work best when your kitchen is near an exterior wall or when you can run ductwork through the attic or a soffit. According to renovation guides and expert advice, properly ducted range hoods are the gold standard for performance and longevity.
Ductless (or recirculating) hoods filter the air through charcoal filters and return it to the kitchen. These hoods don’t remove heat or humidity: they just clean the smell out of the air. Ductless systems are easier to install in apartments or homes where running exterior ducting isn’t feasible, but they’re less effective at managing moisture and cooking odors long-term. They also require frequent filter replacements, typically every 4–6 months depending on cooking frequency.
For most DIY projects in single-family homes, a ducted system is the right choice if your kitchen layout allows it. Ducted hoods pull humidity completely out of the house, preventing damage to drywall, insulation, and framing.
A key note: Local building codes (usually based on the IRC, International Residential Code) often require outside venting for kitchens in new construction and major renovations. Check your local code before deciding on a ductless option.
Tools And Materials You’ll Need
You won’t need a large tool arsenal, but having the right ones on hand prevents frustration and sloppy work.
Tools:
- Drill (18V or higher for pilot holes and fastening)
- Circular saw or jigsaw (for cutting ducting or roof/wall penetrations)
- Level (24-inch preferred)
- Stud finder (to locate framing behind drywall)
- Tape measure
- Caulking gun and silicone caulk
- Tin snips (for cutting sheet metal or trimming ductwork)
- Adjustable wrench or socket set (for hose clamps)
- Reciprocating saw or oscillating multi-tool (if cutting roof penetrations)
- Safety glasses, work gloves, and a dust mask
Materials:
- Flexible or rigid ductwork (typically 6-inch diameter is standard for residential hoods: check your hood’s specifications)
- Duct clamps or hose clamps (stainless steel, rated for temperature if running through hot attics)
- Exterior vent cap or soffit vent (damper-equipped to prevent backdrafts)
- Roof flashing (if venting through the roof)
- Silicone caulk or aluminum foil tape (for sealing duct joints)
- Sheet metal screws (for rigid ducting connections, if needed)
- Proper fasteners for wall studs or ceiling joists (usually lag bolts or construction-grade screws)
Flexible ducting is easier to install around obstacles, but rigid ducting offers less air resistance and slightly better airflow. Many DIYers use a combination: rigid trunk lines and flexible takeoffs. Home improvement professionals recommend minimizing bends and keeping ductwork as straight as possible to reduce efficiency loss.
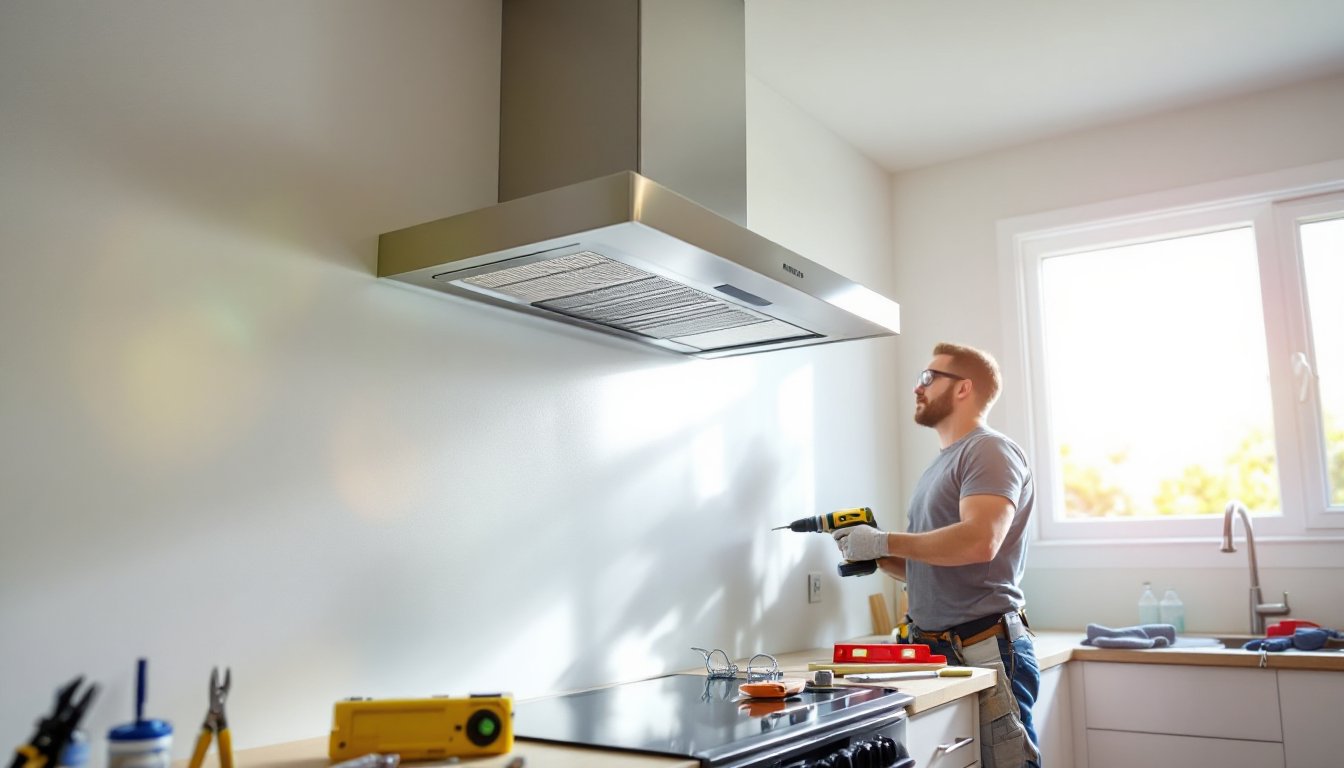
Step-By-Step Installation Guide
These steps assume a ducted system venting to an exterior wall or soffit. If you’re working with an existing hood, start with steps 2–6.
-
Plan your ductwork route. Mark the path from the hood to the exterior. Use a stud finder to locate framing. Measure twice, ductwork reroutes are expensive. Aim for the shortest, straightest path with the fewest bends. Each 90-degree bend reduces airflow efficiency by about 10%.
-
Cut the wall or soffit opening. Use a jigsaw or reciprocating saw to cut an opening sized for your vent cap (typically 6–8 inches for standard hoods). Use a level to ensure the opening is square. From outside, install the roof flashing or wall vent cap with the damper facing down to prevent backdrafts and pests.
-
Mount the range hood. Follow the hood manufacturer’s instructions. Most hoods are secured to wall studs with lag bolts or screws. Use a level to ensure the unit is plumb and level. Do not rely on cabinet supports alone, the hood must be secured directly to framing. Typically, the hood sits 28–36 inches above the cooking surface: check your model’s guidelines.
-
Connect the ductwork. Attach the flexible or rigid duct to the hood’s outlet. Use duct clamps (not sheet metal screws) on flexible ducting, screws can catch on the corrugated interior and restrict airflow. For rigid ducts, you can use sheet metal screws at seams. Seal all joints with silicone caulk or aluminum foil tape to prevent air leaks.
-
Run the ductwork to the exterior. If running through the attic, secure the duct to joists every 4–6 feet with non-corrosive clamps. Avoid insulation contact, wrap the duct in a fiberglass blanket if passing through unconditioned spaces. At the exterior opening, connect the final section and seal around the vent cap with caulk or flashing.
-
Test for airflow and leaks. Turn on the hood and feel for strong airflow at the exterior vent. Check for any visible leaks or whistling sounds (a sign of air escape). Adjust duct clamps or caulking as needed.
Permit note: Many jurisdictions require permits for range hood installation, especially if it involves roof or wall penetrations. Check with your local building department before starting. A rough inspection may be required before you close walls or ceilings.
Common Mistakes To Avoid
Most DIY hood installations fail not because of bad labor, but because of one or two oversights. Here’s what trips people up:
Using undersized ductwork. A 6-inch duct is standard: don’t downsize to 5-inch to save money or squeeze it past framing. Undersized ducts increase back pressure, reduce airflow, and make the hood noisier. Your hood’s manual specifies the required duct diameter, follow it.
Connecting to the attic instead of outside. This is surprisingly common and absolutely wrong. Venting a hood into the attic puts moisture and heat exactly where you don’t want it, it damages insulation, promotes mold, and can warp framing. Always vent to the exterior.
Using too many elbows or bends. Every 90-degree bend (or two 45-degree bends) reduces airflow. If you must navigate framing, use 45-degree elbows instead of sharp 90s, and keep the total equivalent length under 25 feet. Most residential codes limit effective duct length, so longer isn’t better.
Failing to seal joints. Gaps at duct seams let air escape, reducing efficiency and creating noise. Seal every connection with silicone caulk or foil tape, not duct tape, which degrades with heat and humidity.
Forgetting the damper or installing it backward. The exterior vent cap must include a damper, a flap that closes when the hood is off to prevent cold air (or pests) from entering. Install it so the damper hangs downward: most caps are designed this way, but double-check.
Mounting the hood too low. If the hood is below 28 inches from the cooktop surface, it can catch fire. Most codes require 30–36 inches depending on the cooktop type. Check your manual and local code.
Maintenance Tips For Long-Term Performance
A vented range hood is durable if you maintain it. Without care, ductwork clogs with grease, dampers stick, and airflow drops.
Monthly: Clean or replace the mesh grease filter. Most filters slide out of the hood and can be hand-washed or run through the dishwasher (check your model). A clogged filter forces the motor to work harder and reduces airflow by 30–50%.
Quarterly: Wipe the exterior vent cap and damper with a damp cloth to remove dust and pollen. Make sure the damper moves freely.
Yearly: If you have access to the ductwork (in an attic or soffit), inspect it for grease buildup or loose clamps. Use a flexible duct brush or compressed air to clear debris from the interior. For problematic buildup, a professional duct cleaning service is a worthwhile investment.
When to call a pro: If airflow drops significantly even though clean filters, the ductwork may have a disconnection or massive grease blockage. Professional HVAC technicians can run a camera through the duct to diagnose the problem. They can also help troubleshoot damper failures or motor issues that are beyond a DIYer’s scope. Product reviews and home safety information often highlight commercial duct-cleaning products, but for residential kitchen ducts, manual cleaning or a pro service is more reliable.
Proper venting prevents costly kitchen remodeling issues down the road, moisture damage, mold, and deteriorated cabinetry all cost far more than preventive maintenance.
Conclusion
Venting a range hood is a manageable DIY project if you plan carefully, use the right materials, and stick to the basics. A properly ducted, well-sealed hood removes cooking heat and moisture completely, protecting your kitchen and improving indoor air quality. Take time with ductwork routing, seal every joint, and keep up with filter cleaning, and your hood will work reliably for years. When in doubt about permits, code compliance, or roof work, involve a licensed contractor. That investment pays for itself in avoided callbacks and rework.